JBoss Forge – Speedup your enterprise development
Take your skills to the next level!
The Persistence Hub is the place to be for every Java developer. It gives you access to all my premium video courses, monthly Java Persistence News, monthly coding problems, and regular expert sessions.
Hello and welcome to my blog!
In my first posting I want to show how to create a maven based Java EE project within 5 minutes with JBoss Forge. We will create a project with two entities (Book and Author) and a web interface to create, search and edit these objects.
This is the first part of my JBoss Forge series:
- JBoss Forge – Speedup your enterprise development
- JBoss Forge – Speedup your enterprise development – Part II RESTful Webservices
- JBoss Forge – Speedup your enterprise development – Part III Integration Tests with Arquillian
Getting JBoss Forge
The easiest way to get JBoss Forge is to use JBoss Tools or JBoss Developer Studio. You can find both in the Eclipse Marketplace.
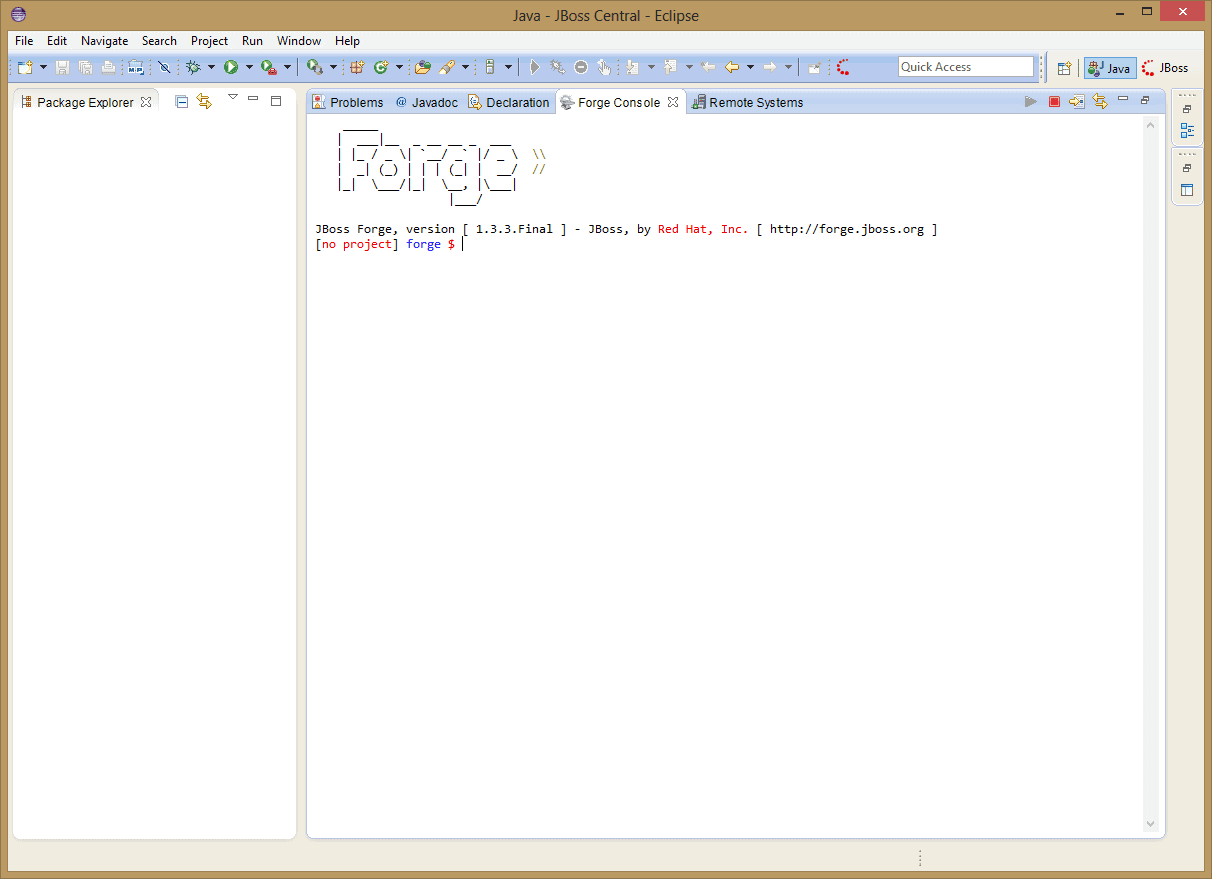
After installing the plugin to your eclipse, you need to start the Forge Console to get the command line interface.
Create the project
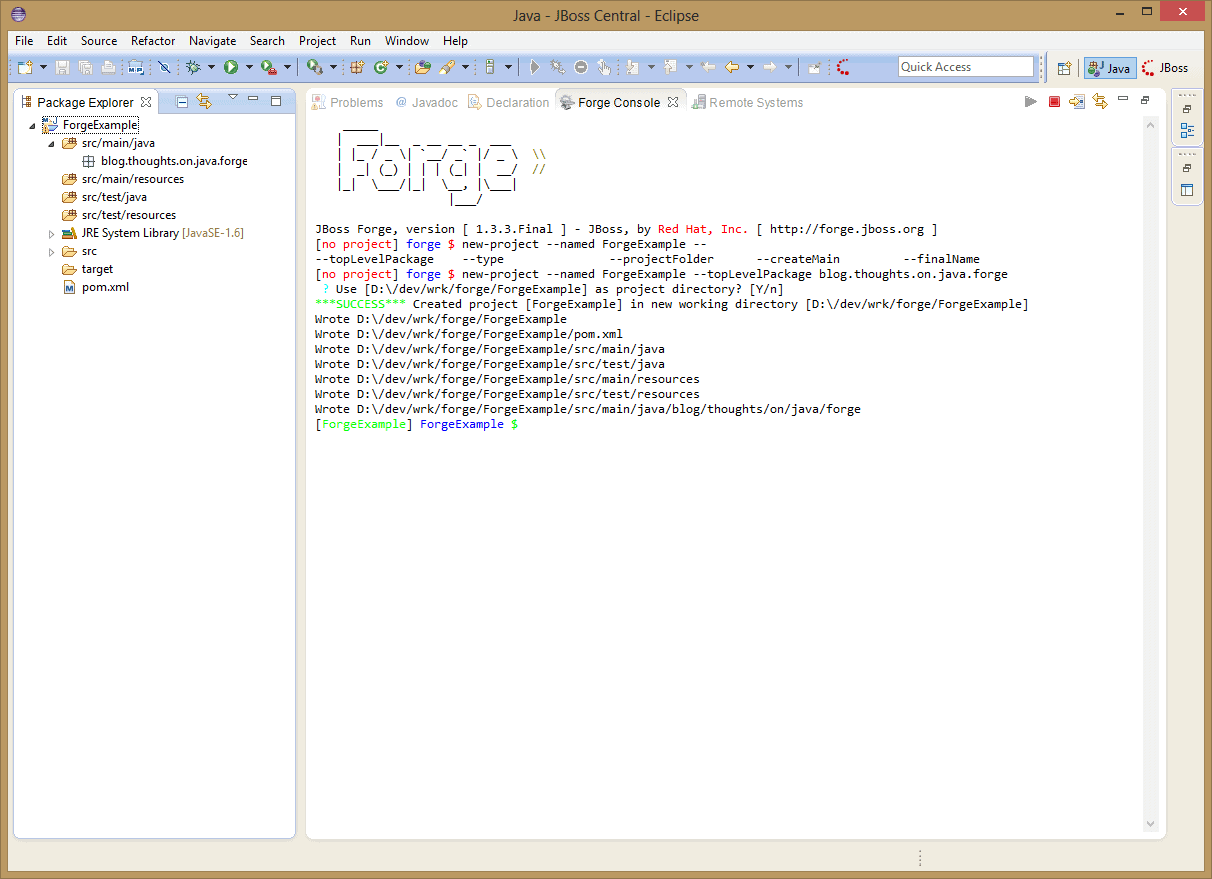
We could spend some time to create the project with the eclipse wizard and to setup the maven build process. But using Forge is much easier and faster. By entering the following command to the Forge Console we are getting a project ready to start with the real work:
new-project --named ForgeExample --topLevelPackage blog.thoughts.on.java.forge
After providing the project directory, Forge creates a new project with a maven build process and updates eclipse.
Generate Persistence
OK, now we can start to build our application. Lets do the persistence first. In the past we created – or most often copied – the persistence.xml file. Now we can use Forge to create the persistence.xml file:
persistence setup --provider HIBERNATE --container JBOSS_AS7
We need to provide the provider and container which shall be used to generate the configuration. We can choose between Hibernate, OpenJPA, EclipseLink and Infinispan as a persistence provider. Different JBoss AS and EAP versions, Wildfly, GlassFish, WebLogic and others can be used as container. The JNDI name of the data source and others can be provided as optional parameters.
Forge keeps the Package Explorer up to date and opens the persistence.xml in an editor:

Now we can start to generate our entities. First we create the entity Book with a title as String, the publicationDate as Date and the number of pages as int. This can be done in four lines by using the commands entity and field:
entity --named Book
field string --named title
field temporal --type DATE --named publicationDate
field int --named pages
We do the same to create the Author entity:
entity --named Author
field string --named lastName
field string --named firstName
The last thing missing is the association between Author and Book. We create a one-to-many association between Author and Book in this example:
field oneToMany --named books --fieldType blog.thoughts.on.java.forge.model.Book.java --inverseFieldName author
The result is a very clean implementation of the two entities which can be seen in the eclipse editor. Each generation step updates the eclipse editor immediately so that we always see what’s happening. Forge creates the required annotations, get() and set() methods. So we can be sure that we have all required annotations in the right place. Even the methods equals(), hashCode() and toString() are created. Here you can see the generated Author entity:
@Entity
public class Author implements Serializable
{

   @Id
   @GeneratedValue(strategy = GenerationType.AUTO)
   @Column(name = "id", updatable = false, nullable = false)
   private Long id = null;
   @Version
   @Column(name = "version")
   private int version = 0;

   @Column
   private String lastName;

   @Column
   private String firstName;

   @OneToMany(mappedBy = "author", cascade = CascadeType.ALL, orphanRemoval = true)
   private Set<Book> books = new HashSet<Book>();

   public Long getId()
   {
      return this.id;
   }

   public void setId(final Long id)
   {
      this.id = id;
   }

   public int getVersion()
   {
      return this.version;
   }

   public void setVersion(final int version)
   {
      this.version = version;
   }

   @Override
   public boolean equals(Object that)
   {
      if (this == that)
      {
         return true;
      }
      if (that == null)
      {
         return false;
      }
      if (getClass() != that.getClass())
      {
         return false;
      }
      if (id != null)
      {
         return id.equals(((Author) that).id);
      }
      return super.equals(that);
   }

   @Override
   public int hashCode()
   {
      if (id != null)
      {
         return id.hashCode();
      }
      return super.hashCode();
   }

   public String getLastName()
   {
      return this.lastName;
   }

   public void setLastName(final String lastName)
   {
      this.lastName = lastName;
   }

   public String getFirstName()
   {
      return this.firstName;
   }

   public void setFirstName(final String firstName)
   {
      this.firstName = firstName;
   }

   @Override
   public String toString()
   {
      String result = getClass().getSimpleName() + " ";
      if (lastName != null && !lastName.trim().isEmpty())
         result += "lastName: " + lastName;
      if (firstName != null && !firstName.trim().isEmpty())
         result += ", firstName: " + firstName;
      return result;
   }

   public Set<Book> getBooks()
   {
      return this.books;
   }

   public void setBooks(final Set<Book> books)
   {
      this.books = books;
   }
}
Generate Web UI
Now we are only missing the web interface for the created entities. Therefore we setup the scaffolding and generate the web interface from our entities. In this example we use the default scaffold type JavaServer Faces.
scaffold setup
scaffold from-entity blog.thoughts.on.java.forge.model.*
We need a war project to deploy our web interface, but up to now it was a jar project. Forge detects this during the generation of the web interface and and offers to update the packaging. By updating the packaging of our application, forge adds the missing dependencies and updates our project.

After the generation is done, we can build our application by calling build or by using the normal maven commands.
Deployment
As a last step we want to deploy our application to a JBoss AS7 instance. This can be done with the AS7 Forge Plugin. Therefore we need to install and configure it:
forge install-plugin jboss-as-7
as7 setup
During the setup process we need to provide the Java Home and a default version of the application server. Additionally we can provide the path to an installed JBoss AS or let Forge do this for us.
Now we can start the server and deploy the application by calling a7 deploy.
OK, lets have a look at our application:


Conclusion
We created a Java EE project in less than 5 minutes by using just a few commands of JBoss Forge. But you can do much more with JBoss Forge. In my next post I will show you how to generate a webservice interface for our application and how to use the arquillian plugin to test it.
Links
JBoss Forge Series
- JBoss Forge – Speedup your enterprise development
- JBoss Forge – Speedup your enterprise development – Part II RESTful Webservices
- JBoss Forge – Speedup your enterprise development – Part III Integration Tests with Arquillian
Thank you Ronny!
The next part is already up: http://somethoughtsonjava.blogspot.de/2013/09/rapid-application-development-with.html
And I will post a third part beginning of next week 🙂
Hi, thanks for the quick reply. I just watched a 1hr demo on it and im quite impressed. Thanks for the tip! I reckon ill give it a shot.
Great work – Forge and your article as well! As a shell enthusiast I like the use of Forge as some kind of project shell. Really curious to see the next part of your tutorial. BTW: Don't miss to include examples of the scripting features. 🙂
Thank you for your question.
Forge and Spring Roo are similar in several aspects. The main difference for me is, that Spring Roo and the generated projects are tied to Spring (generated projects work on top of Spring). Projects created by Forge are only based on Maven. So the Forge approach is far more generic than Spring Roo.
The Forge FAQ provides a more detailed answer for your question: http://forge.jboss.org/docs/using/faq.html#roo
This looks exactly like Spring Roo (even syntactically): http://en.wikipedia.org/wiki/Spring_Roo
Where's the difference?